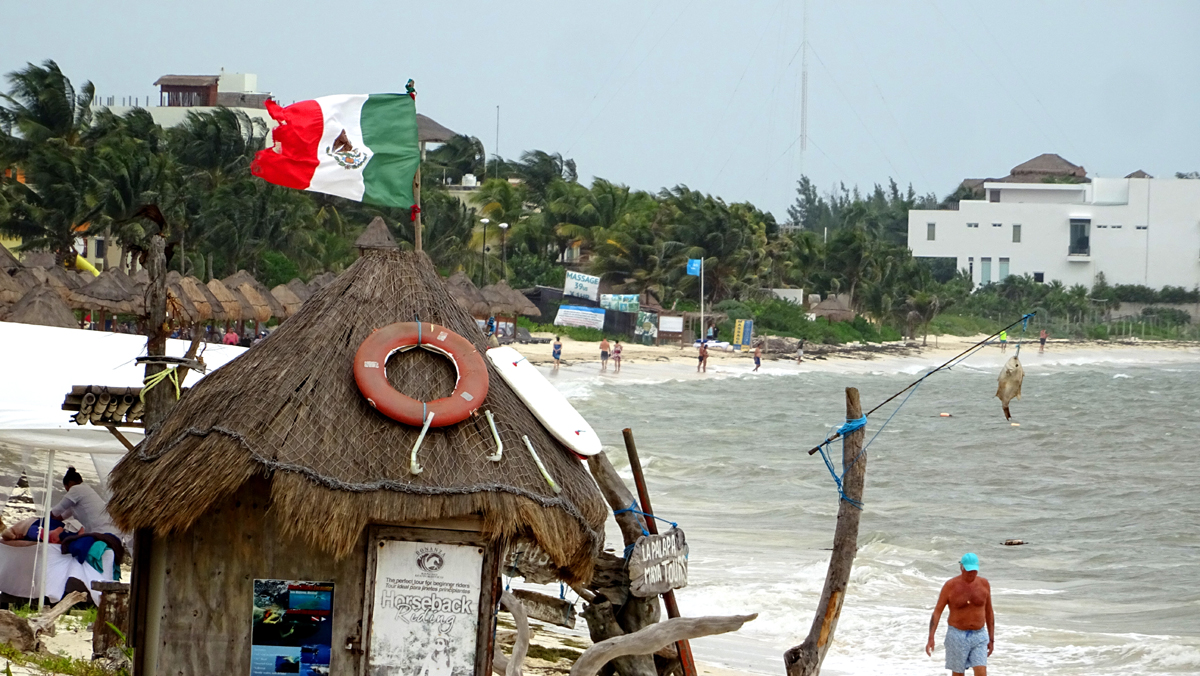
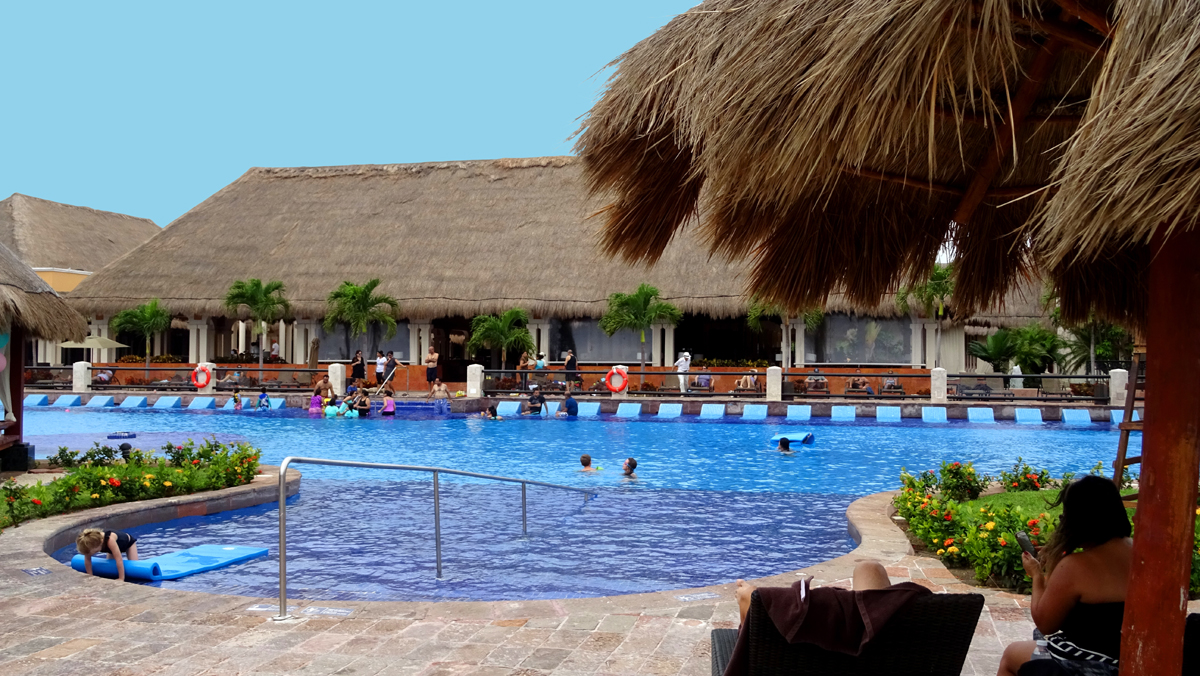
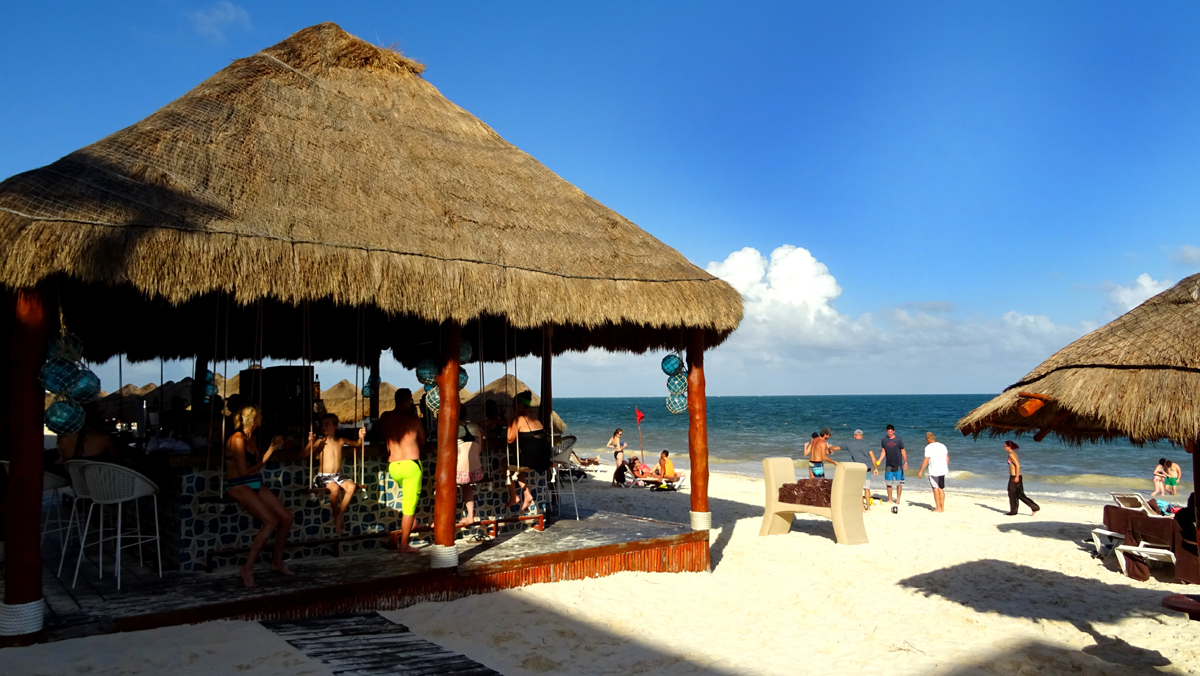
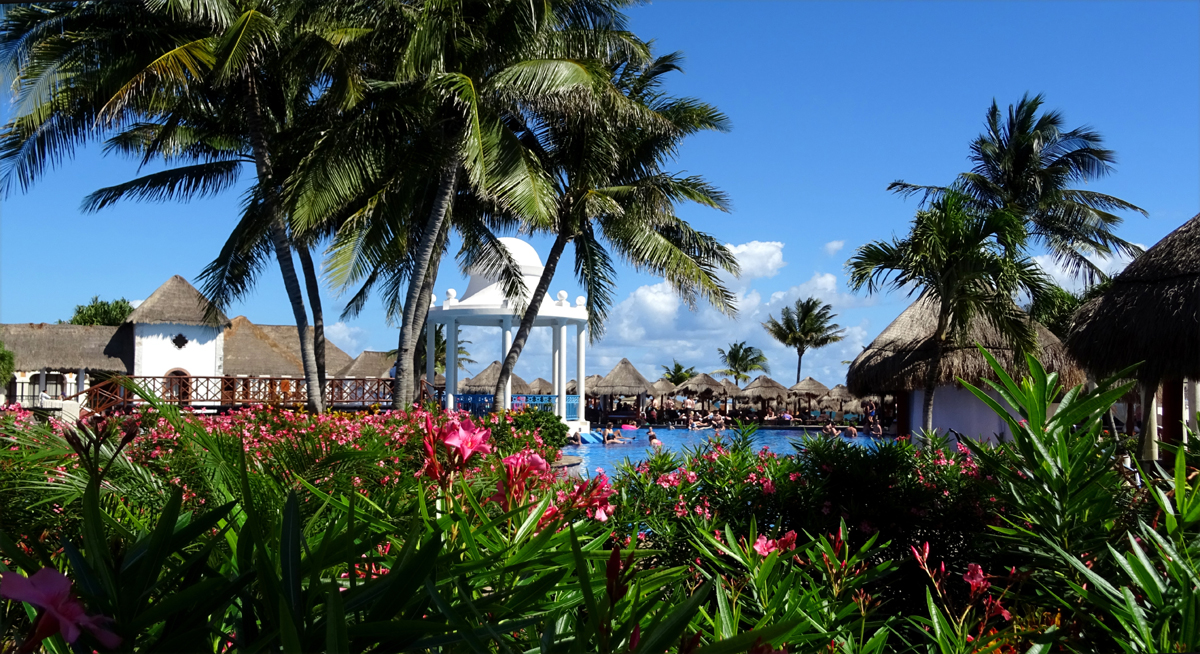
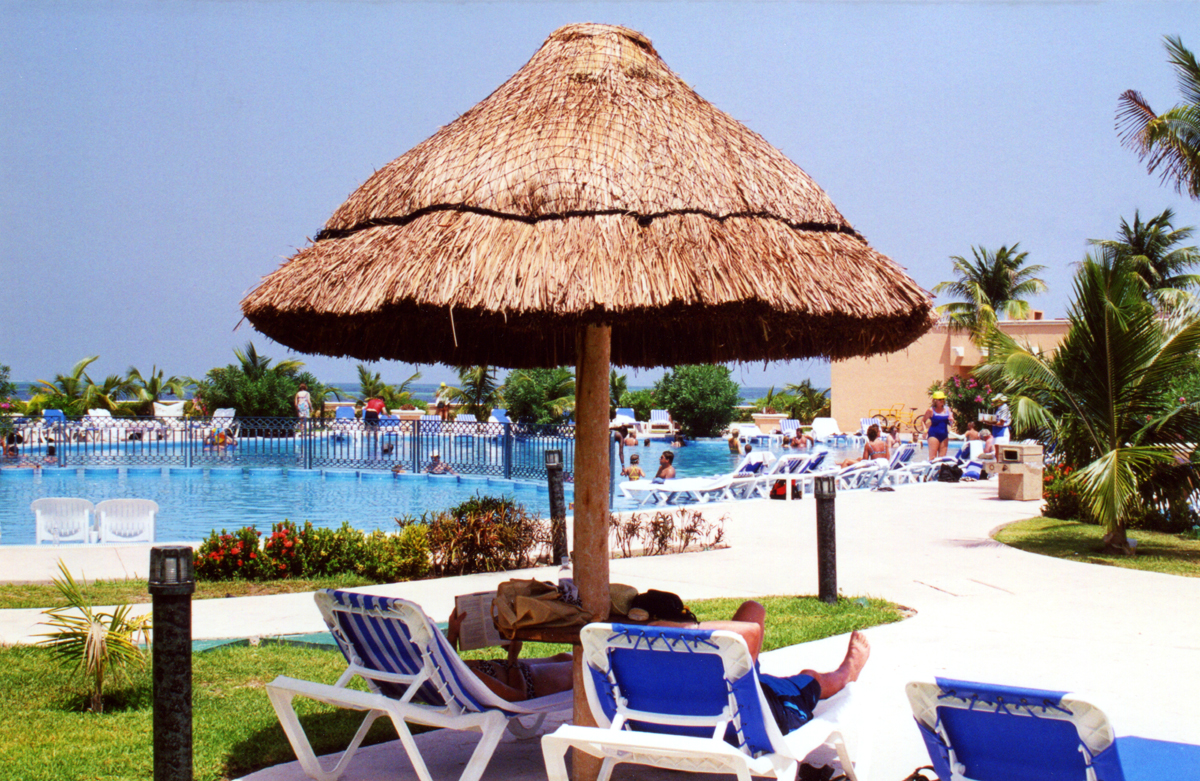
The familiar open-air Mexican resort pavilion protected by a lofty roof of palm thatch (this one is at Now Sapphire Riviera Cancun) is a palapa.

Palapas can be enormous structures or palm leaf umbrellas atop a single pole.
Palapa is a word invented by the Mayans and borrowed by the Spanish to describe a “pulpous leaf”; their description of a palm frond. Pulpous in this case means compliant and flexible—soft and yielding easily to pressure or weight.
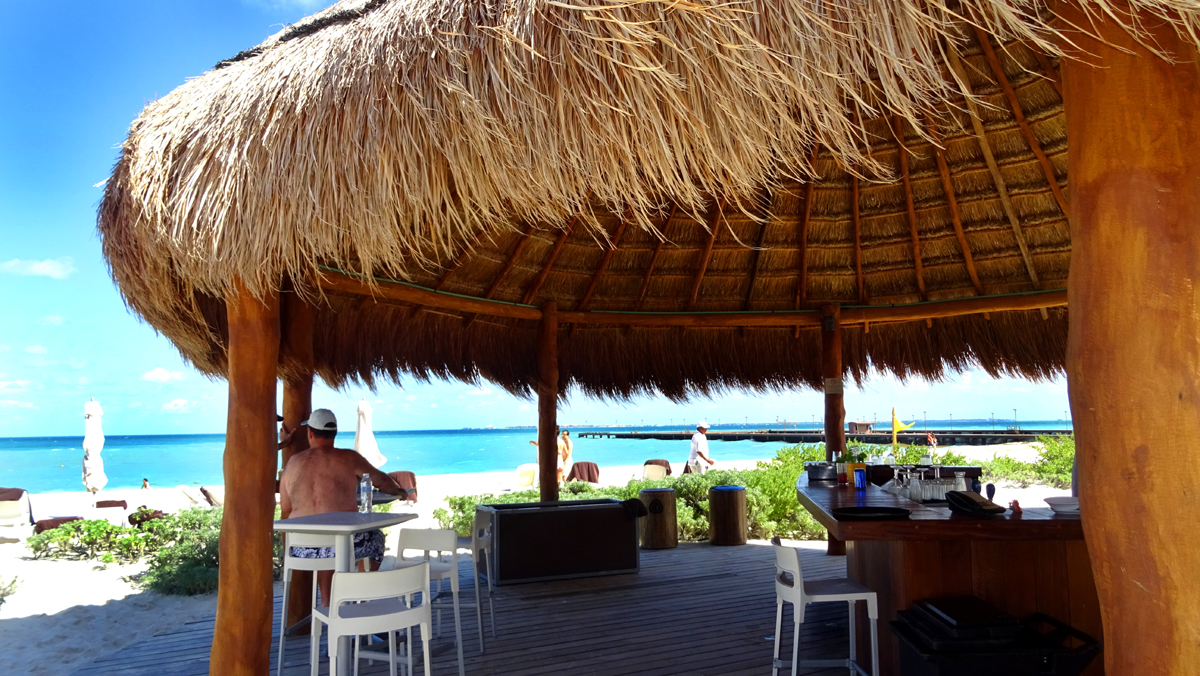
But to us travelers the word palapa means tropical drinks on the sand by the sea. It means a reprieve from stress and a license to chill. It means while the palm fronds are overhead we don’t have to work today.
Eco-tourists esteem palapas for comprising sustainable building materials. Palms grow new fronds and trees are replanted. The poles are often trunks of pines with bark peeled by hand (in spring, when it is loosest as the interior grows a new layer—Science!).
Amassing thatch can be as easy as collecting dried palm fronds from the ground where they are shed by trees. And old dried bundles (they can last for 8 years!) that are replaced as roof coverings can be chopped up to make first-rate mulch. Fresh cut palm fronds sun-dry in 2 weeks.
Let’s make a palapa! Better yet, let’s have the bartender make us a piña colada while we watch somebody else make a palapa!
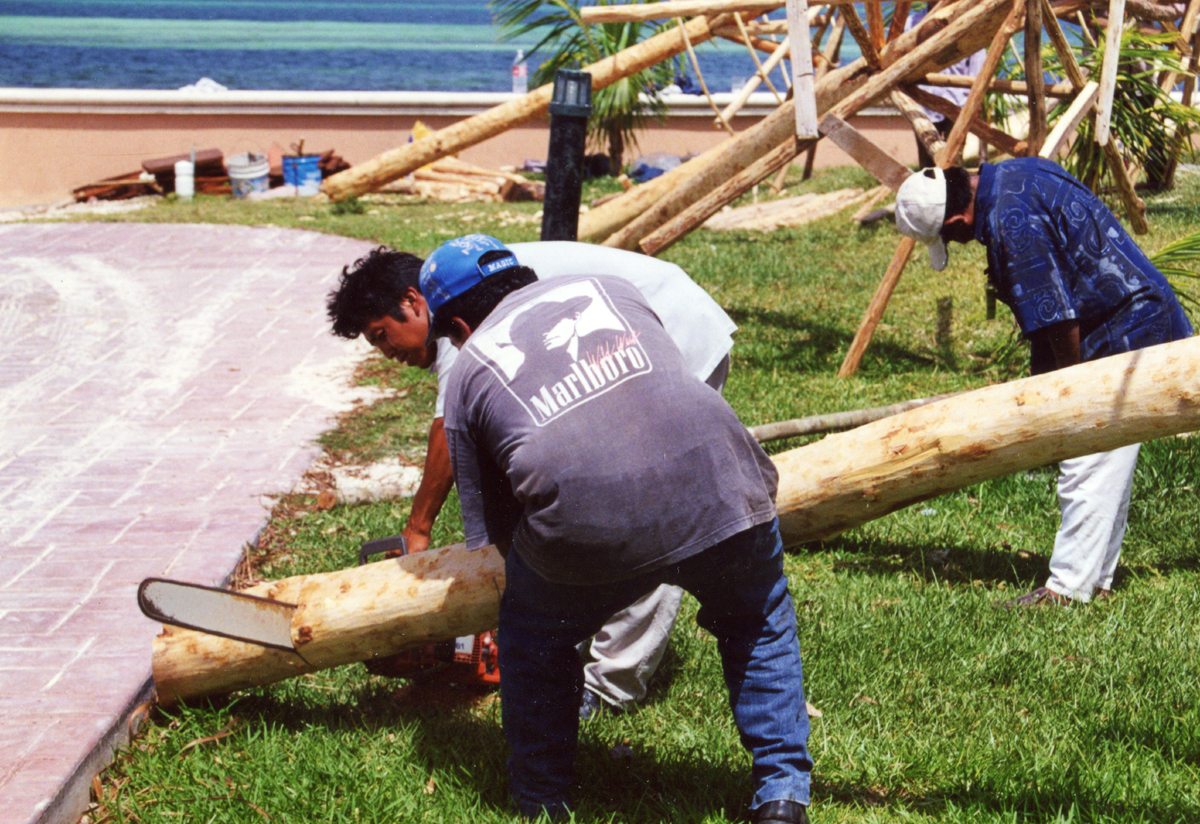
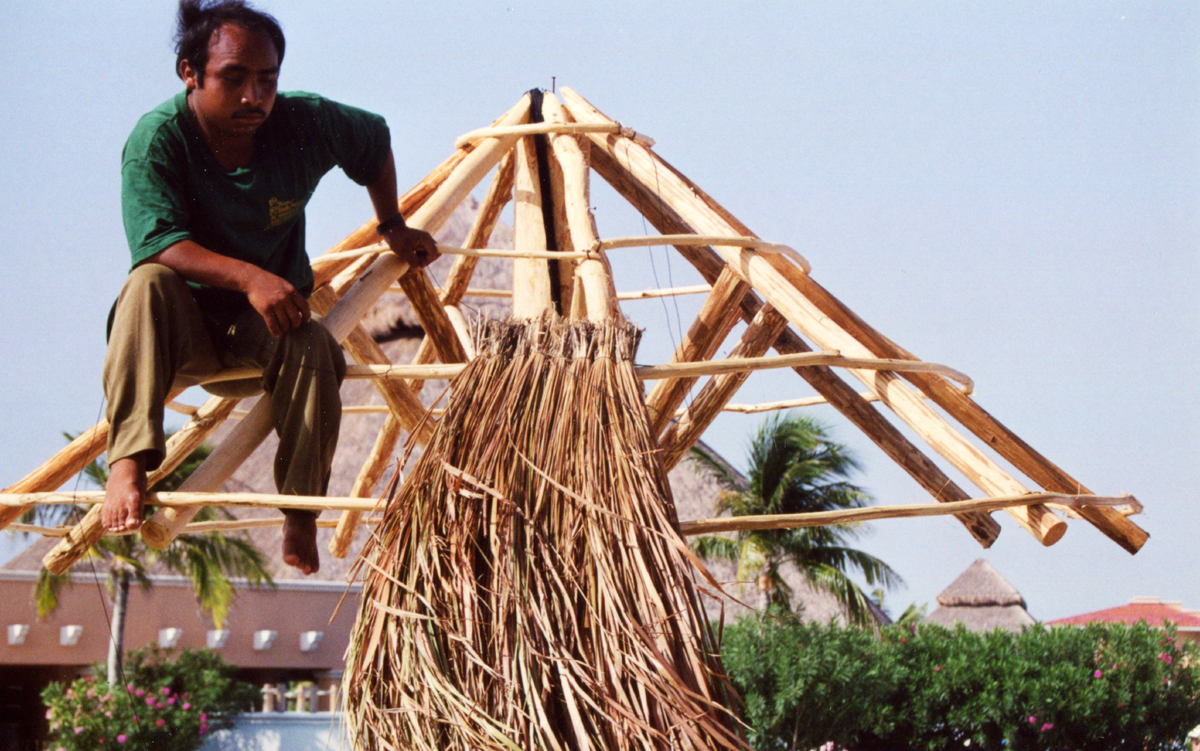
Begin by removing the bark from a log and cut a pole 10 feet long. For you excessively ambitious few who will be inclined to actually undertake construction I’ll include a nifty diagram with specs further on.
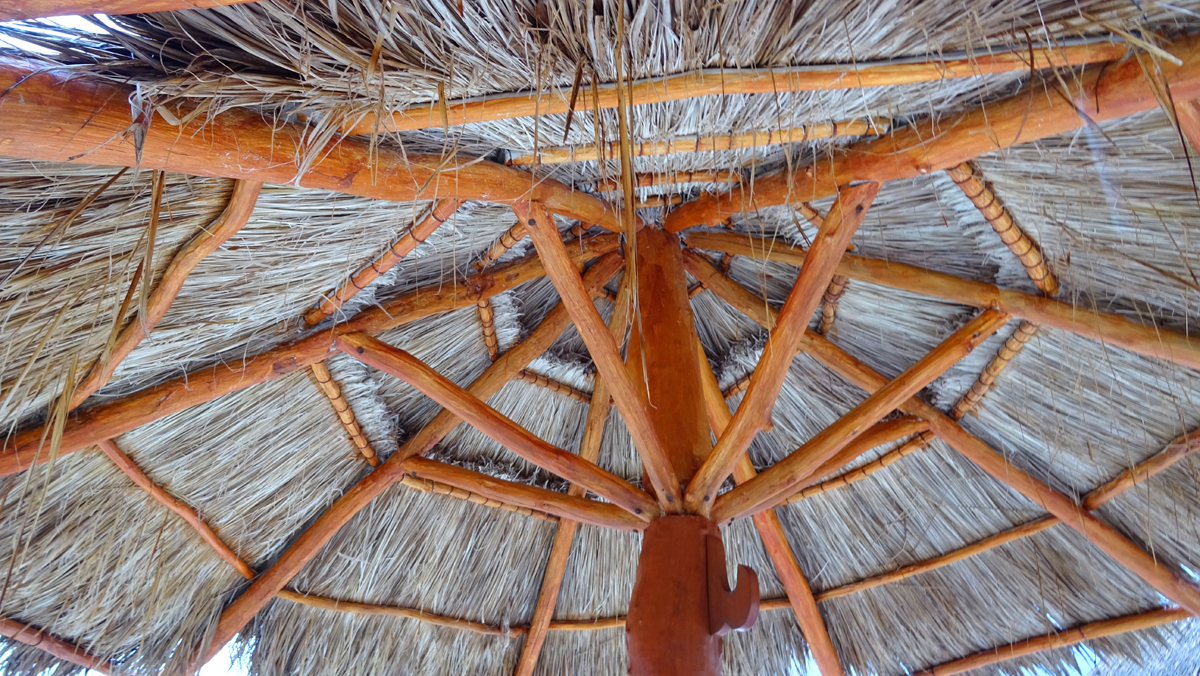
A third of the way down the pole from the top cut a notch around the pole angling up and out. Into this notch will be nailed posts to support the main frame.
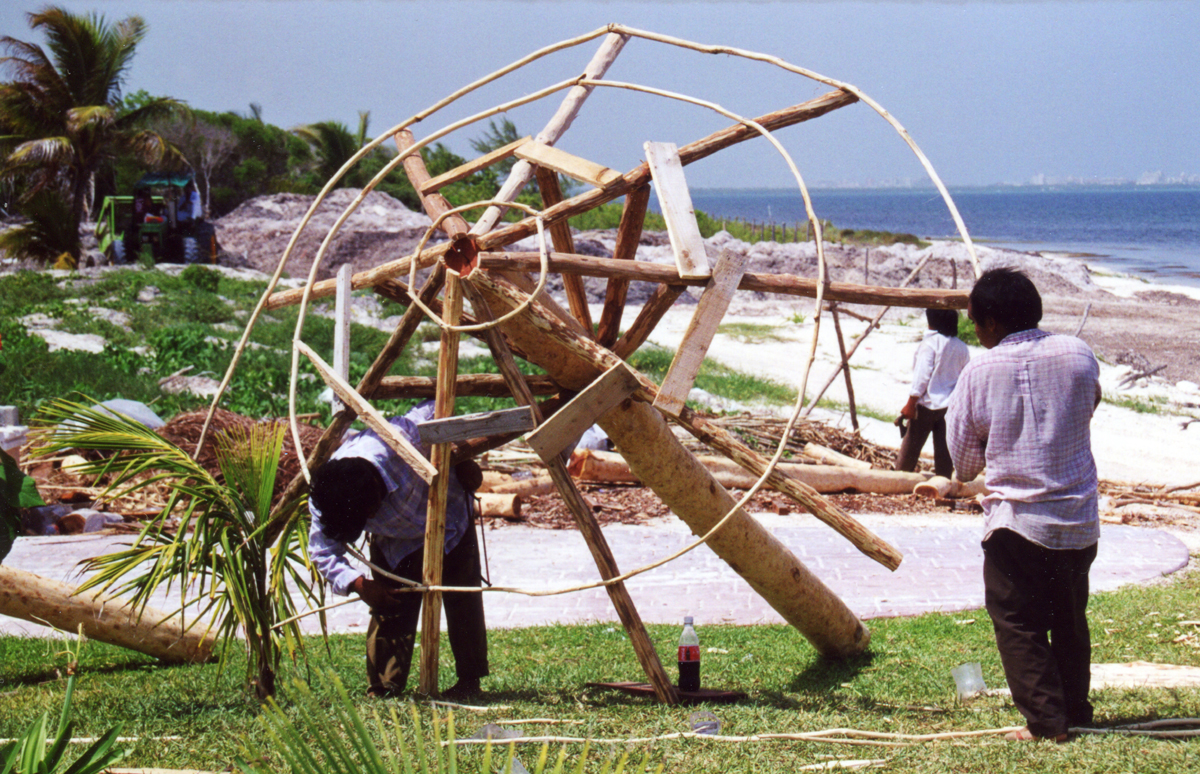
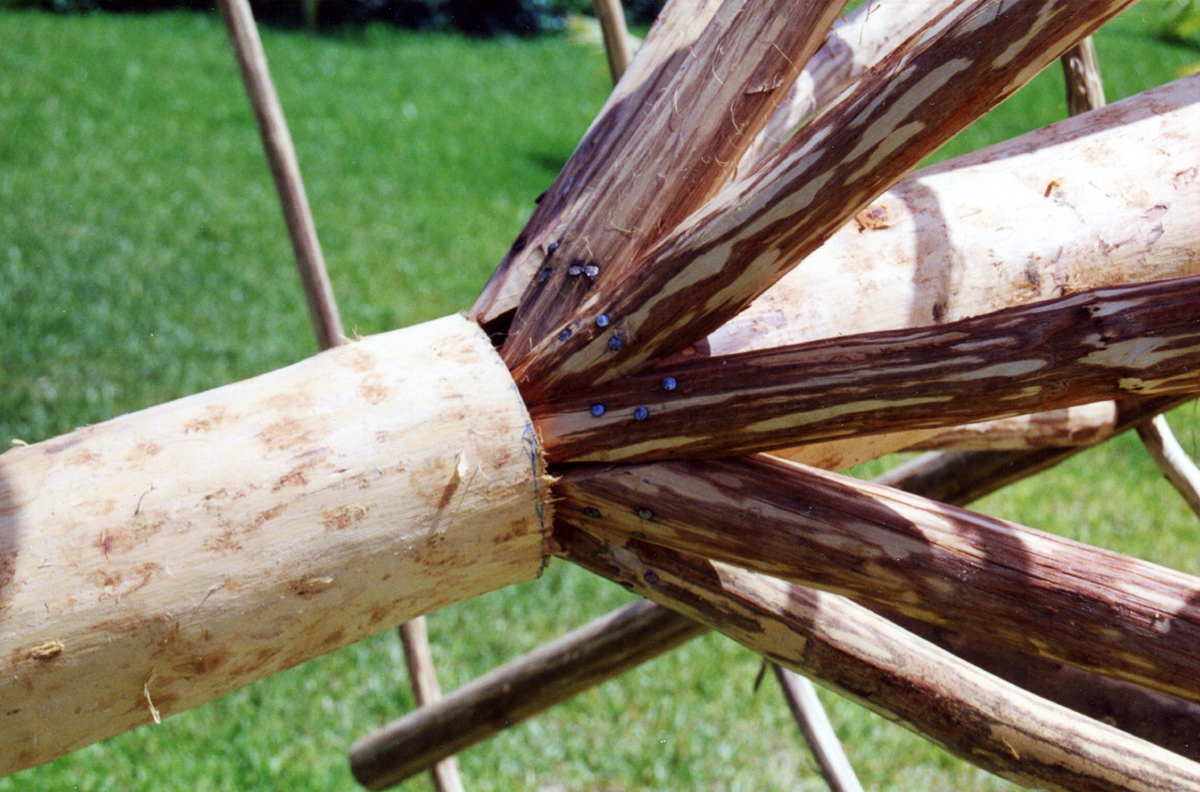
Cut 9 thinner poles to a length of around 5 feet to be the main supports fanning out from the center pole like the ribs of an umbrella. Cut one end of the poles on an angle and nail these ends around the top of the center pole.
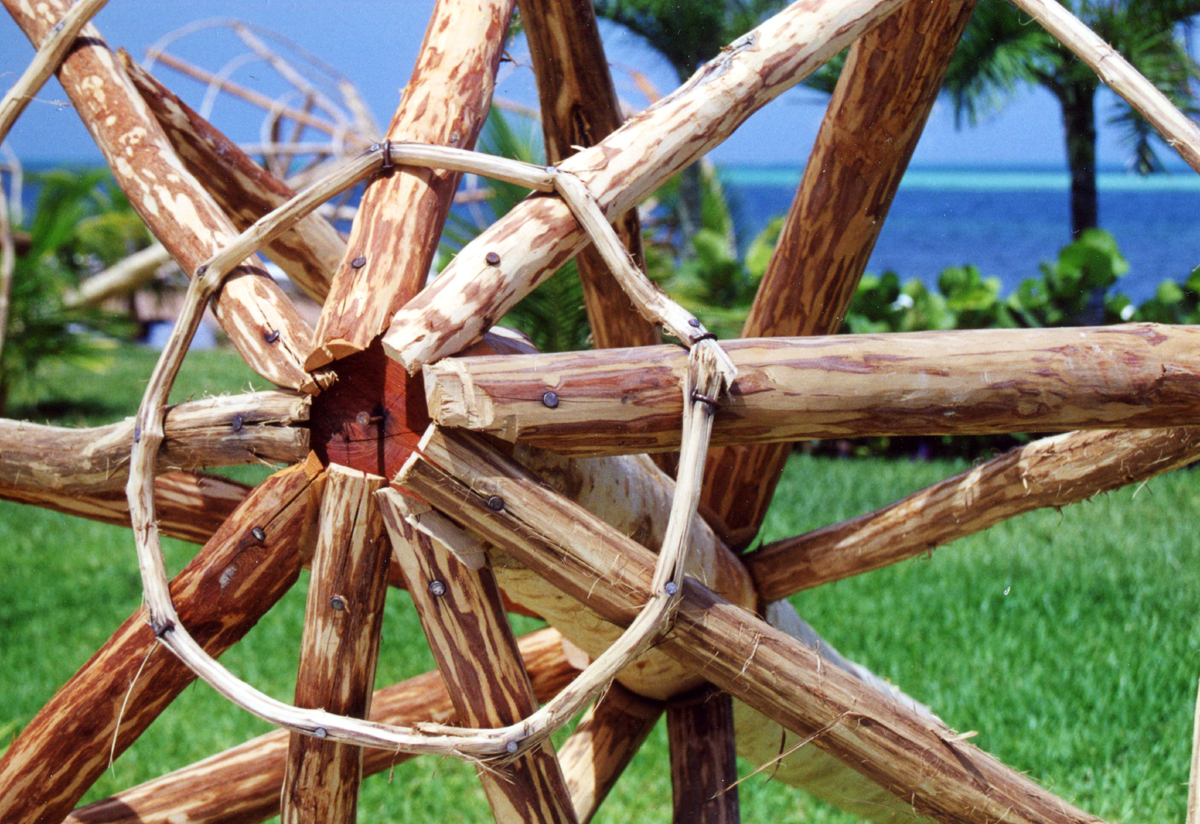
Cut the brace posts from the same size poles to a length of 2 ½ feet. Cut one end of these braces on an angle and nail these ends to the notch cut around the center pole (3 nails each). Position a support post under a rib strut around 2 feet down from the top of the rib strut. Nail through from outside the strut into the support post. Repeat to attach the other ribs to supports.
What? Your glass is empty? Pause to order a frozen daiquiri. Only when it is delivered will we request your continued attention. OK? Bueno. We will carry on.
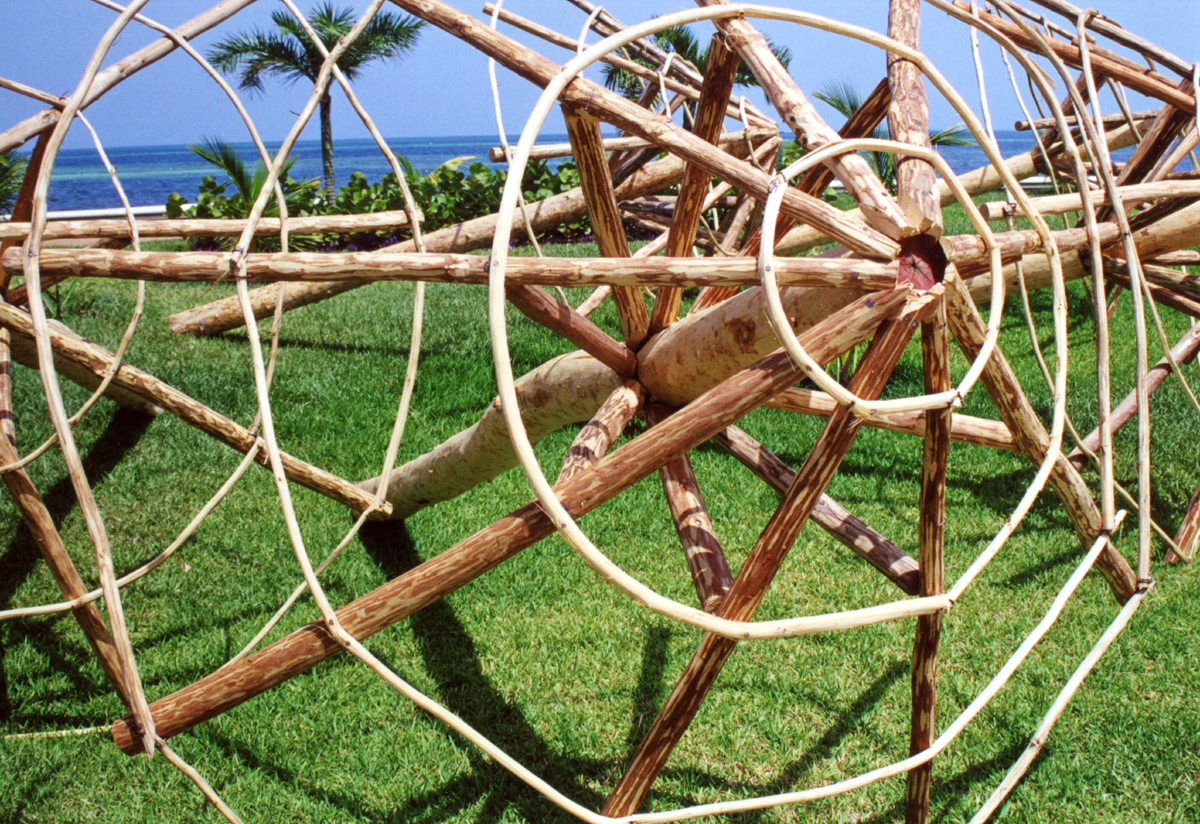
Wrap thin stripped branches approximately 3 inches in circumference around the umbrella frame on four levels, evenly-spaced, starting 6 inches from the top. These circles will be the braces to which the palm frond bundles will be attached.
To attach branches anchor nails just below the thin branch on the rib strut and use a hammer to bend the nails upward and around to encircle and secure them.
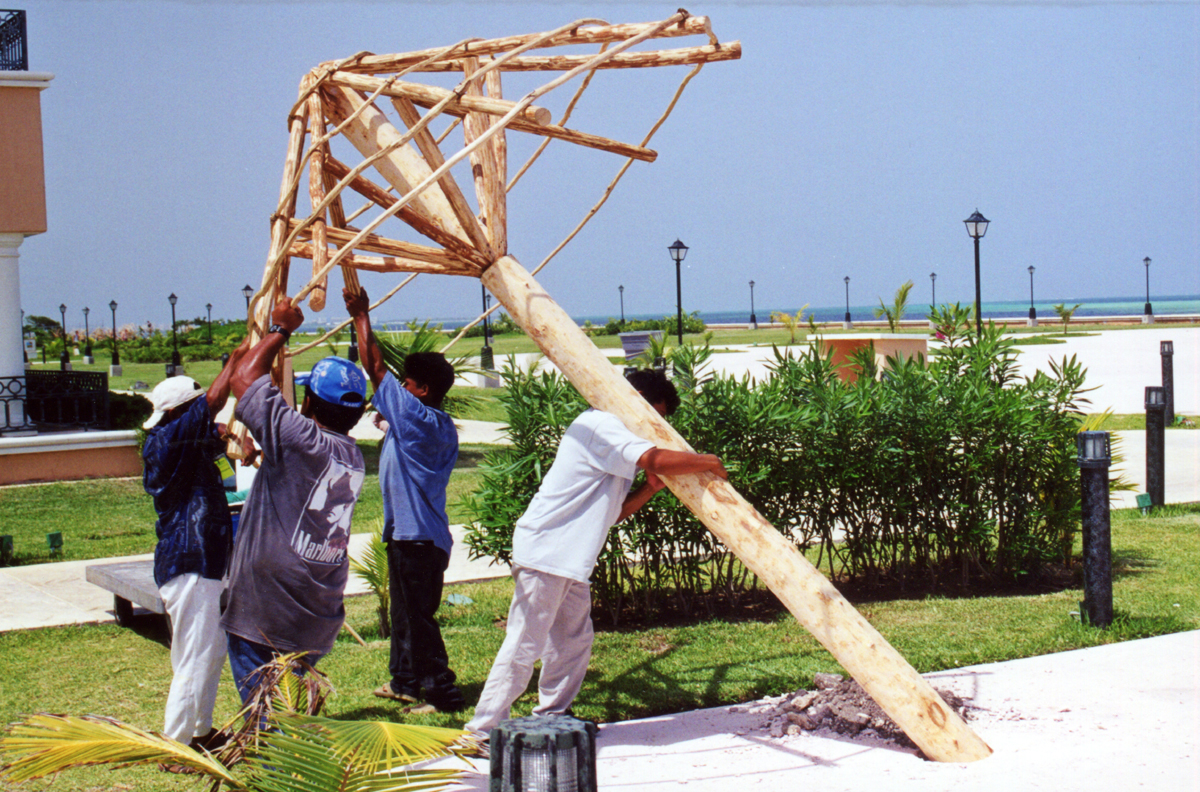
Make certain the frame is nailed sufficiently to create a sturdy structure. Raise it vertical into a support hole 2 feet deep. Re-staging the Iwo Jima tableau is optional.
Bunch dried palm fronds into bundles and tie tops together with strong braided twine.
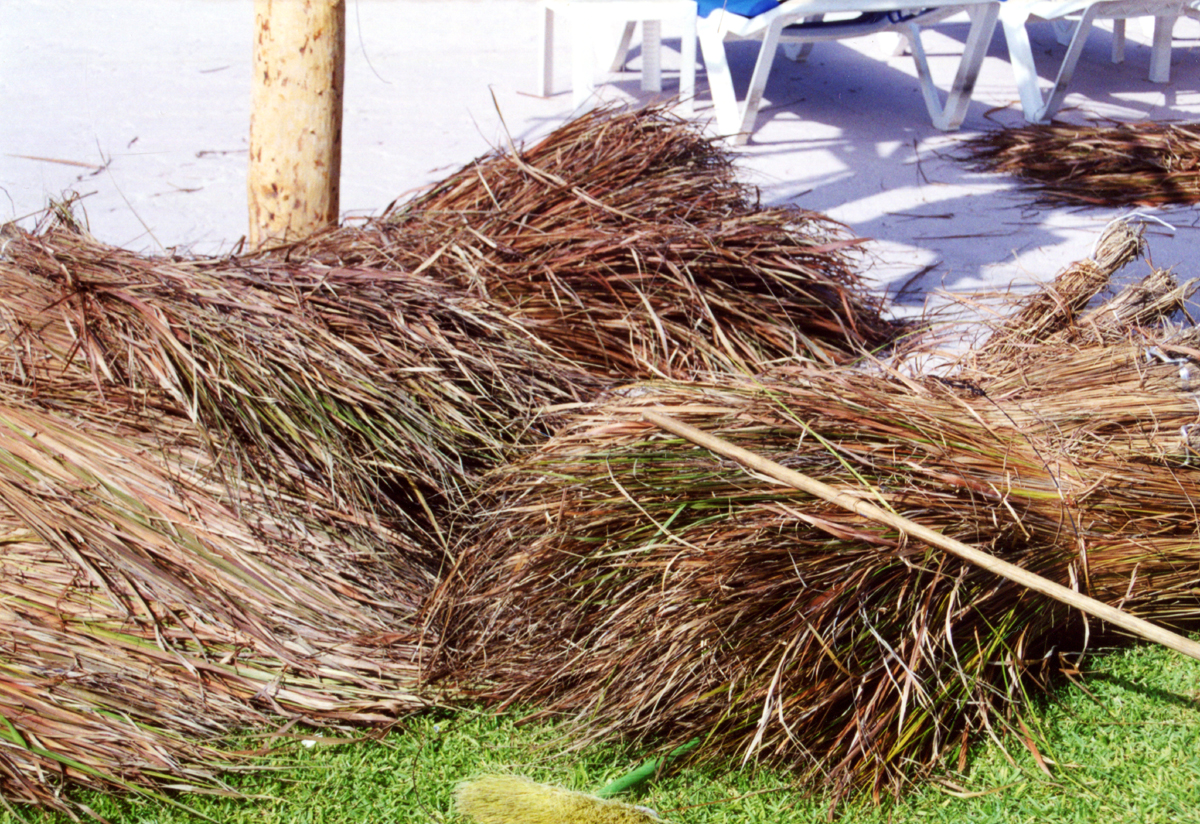
Where it is tied at the top the frond bundle should be about 6 inches around (just a bit larger in circumference than would permit your thumb and forefinger to wrap around it). These stacks of bundles are roughly 4 feet in length.
The bundles are laid over the bottom and second branch circles and the ends are extended 3 inches above the second circle branch, to which they are tied. Loop twine around the branches and knot bundle tops on the outside so there is a single string around the branch visible below. Old-school palapa purists dispense with the twine and tie bundles using a few of the attached palm frond fingers. (Palm is from the Latin: palma, meaning palm of the hand; the leaves resembling spread fingers of an open hand—Science!)
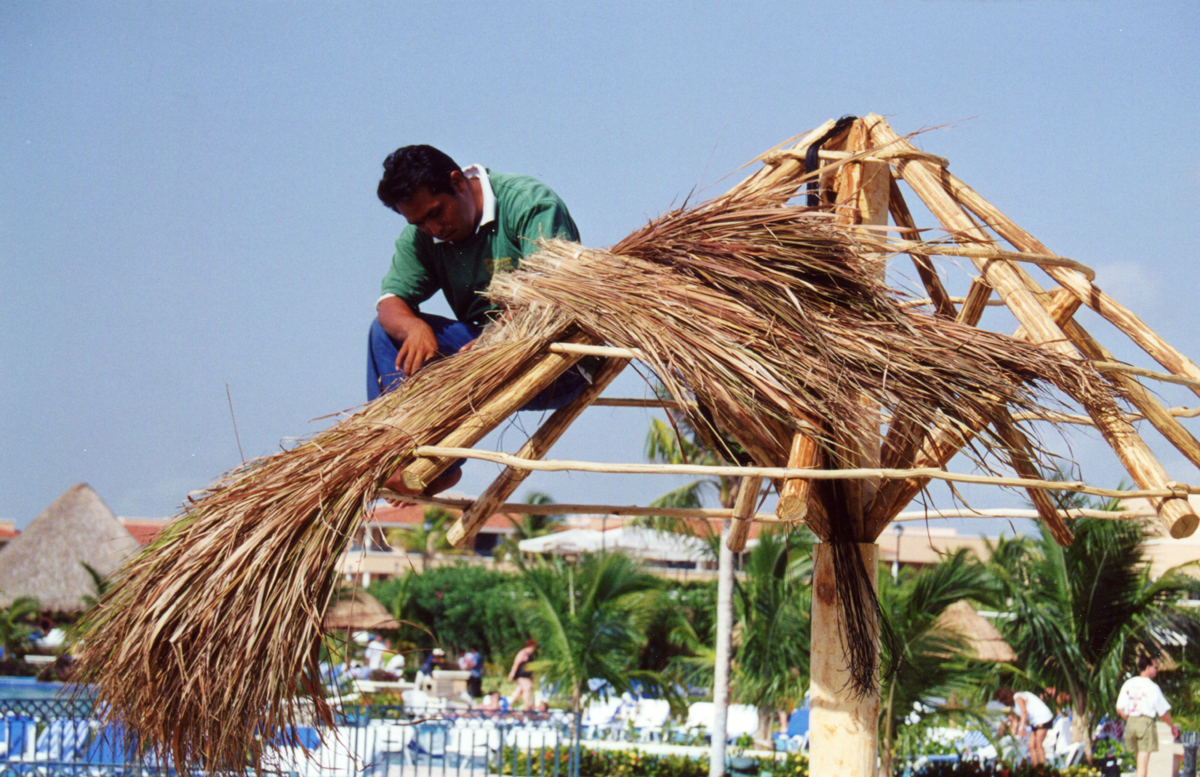
When the lower half of the umbrella is encircled and covered with bundles of palm thatch, repeat by tying more bundles to the next ring and then the uppermost ring below the top of the center pole. The tops of the bundles should rise 3 inches above the ring branch before tying off.
When the frame is covered, top the final exposed area on the top of the umbrella with fronds that are folded over the top like a cap, and then encircled with twine and tied.

To prevent the fronds that hang over the bottom of the umbrella frame from blowing and shifting, loop twine up through and around a handful of palm fronds and tie them to the bottom-most circle branch; two or three times between each rib strut.
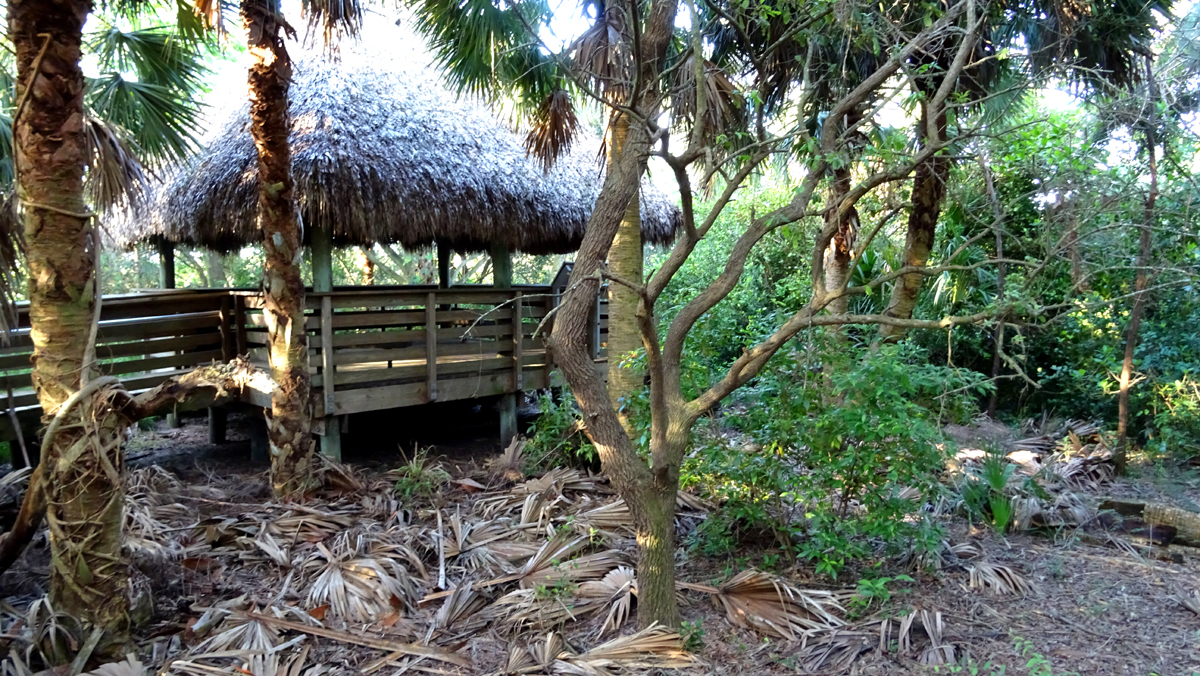
This palapa is larger, with 5 rings of support branches, but the assembly technique is identical.
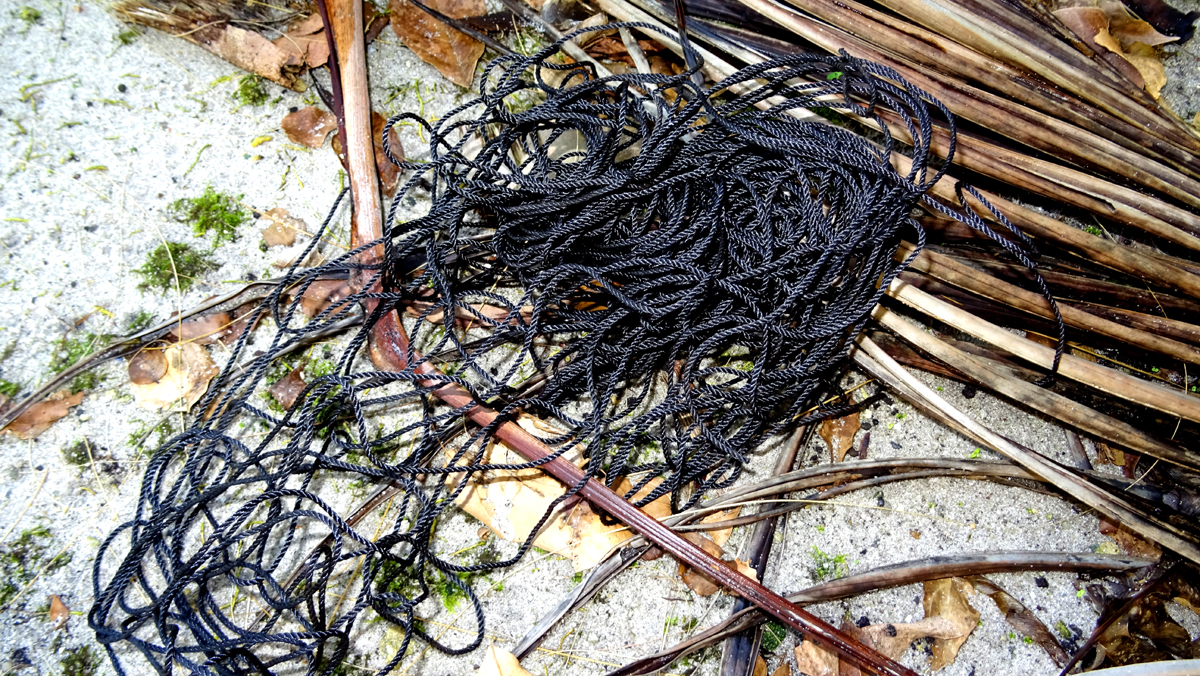
Palapas may be covered partially with a mesh netting to further protect the thatch from wind and to keep the fronds pressed together. Leave the fronds uncut and hanging naturally, or snip them evenly like bangs a foot below the bottom ring. Your choice.

Here's a visual aid for the worker you will hire to construct your palapa while you sip your margarita. And remember—If you one day become a contestant on Survivor, nobody votes off the teammate who can build a palapa.